


A filter that looks fine from the outside can still be restricting flow, carrying sediment or allowing unpleasant tastes and odours through. Knowing how to replace filter cartridge correctly helps protect your pump, maintain water pressure and keep stored rainwater suitable for its intended household, farm or commercial use.
For most standard cartridge housings, this is a straightforward maintenance job. The key is choosing the right replacement, isolating the water supply safely and resealing the housing properly. A rushed change can lead to leaks, damaged O-rings or a filter that does not suit your system.
Know when a cartridge needs changing
Do not wait until water stops completely before checking your filters. A noticeable drop in pressure at taps, a pump that cycles more often than usual, discoloured water or a change in taste can all indicate that a cartridge is loaded with sediment or needs replacement.
Replacement intervals depend on water quality, tank condition, roof catchment, household water use and the type of cartridge installed. Properties with leaf debris, fine sediment, dusty conditions or heavy rainwater use may need more frequent servicing than a lightly used home system. As a general guide, inspect cartridges every three to six months and replace them according to the filter manufacturer’s recommended interval or sooner if water flow falls away.
If your system uses a sediment filter before a carbon cartridge or UV unit, keep the sediment stage working efficiently. Fine particles can shorten the life of later-stage filters and reduce UV treatment performance.
Prepare before you replace the filter cartridge
First, identify the cartridge you need. Check the old cartridge, housing label or system documentation for its length, diameter and micron rating. Common cartridge sizes include 10-inch and 20-inch units, but they are not all interchangeable. A standard 10-inch cartridge, for example, may not fit a jumbo housing.
The micron rating matters as well. A lower micron number captures finer material, but it can restrict flow faster where rainwater carries a lot of sediment. A sediment cartridge is commonly used to remove dirt, rust and particulate matter. Carbon cartridges are used to reduce taste, odour and some chemical contaminants, depending on the cartridge specification. Select the cartridge to suit your water source and treatment objective, not simply the cheapest option on the shelf.
Before starting, have the following ready:
- The correct replacement cartridge for your housing and water application
- A filter housing spanner suited to the unit
- A clean bucket, cloth and food-grade silicone lubricant for the O-ring
- A potable-water-safe sanitising product if cleaning the housing is required
Switch off the pump at the power supply before working on a tank-fed system. If you have a mains changeover arrangement, isolate the relevant water source as well. This prevents the pump from starting while the housing is open and avoids unwanted water flow through the filter line.
How to replace filter cartridge safely
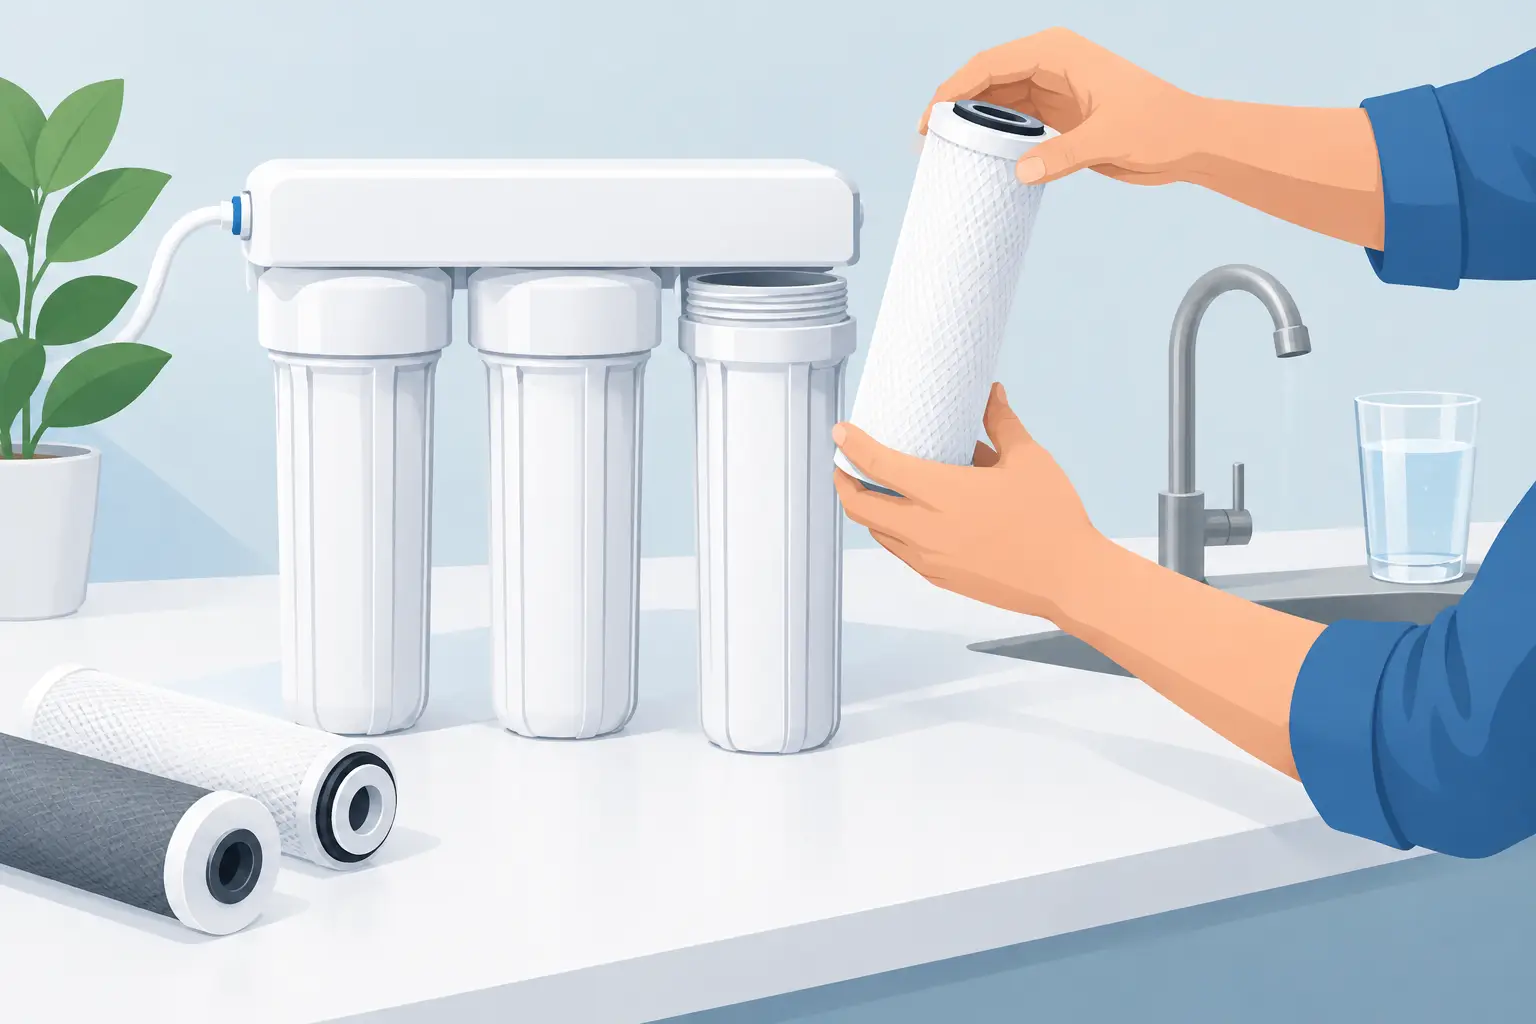
Start by closing the isolation valve on the inlet side of the filter. If there is a valve after the filter, close that too. Many filter housings have a pressure-relief button on top. Press it to release pressure before attempting to undo the bowl. Keep a bucket underneath, as residual water will spill when the housing is opened.
Fit the housing spanner around the filter bowl and turn it anticlockwise. Avoid using pipe wrenches, grips or excessive force, as these can crack plastic housings. If the bowl is difficult to remove, check that pressure has been fully released and that all relevant valves are shut.
Once the bowl is off, remove the old cartridge and empty the water into the bucket. Inspect the inside of the housing for sediment, slime or debris. A small amount of sediment is common, particularly after heavy rain, but significant buildup may point to a dirty tank, ineffective pre-filtration or roof catchment debris entering the supply.
Clean the bowl with clean water and a soft cloth. If sanitising is needed, use a product approved for potable water equipment and follow its dilution and contact-time instructions. Rinse thoroughly. Avoid harsh household cleaners, solvents and abrasive pads, as they can damage the housing or leave residues in the water path.
Remove the O-ring from the housing head or bowl, depending on the filter design. Wipe it clean and inspect it for flattening, cracking, stretching or cuts. Replace a damaged O-ring rather than trying to reuse it. Apply a light coating of food-grade silicone lubricant, then seat the O-ring evenly in its groove. A twisted or dry O-ring is one of the most common causes of leaks after a cartridge change.
Place the new cartridge into the housing. For most standard cartridges, either end can face up unless the cartridge or housing has a marked flow direction. Some specialty cartridges have a specific orientation, so check the product instructions before fitting.
Screw the bowl back onto the housing by hand first. Once the thread has engaged smoothly, use the spanner to tighten it firmly but not excessively. Overtightening can make the next service difficult and may damage the housing threads or O-ring seal.
Restart the system and check for leaks
Open the inlet valve slowly to allow the housing to fill gradually. Keep the outlet valve closed at first if your setup allows it. Check around the housing head, bowl and fittings for drips. If water appears around the seal, switch the supply off, release pressure and check that the O-ring is clean, lubricated and properly seated.
When the housing is full and leak-free, open the outlet valve and restore power to the pump. Run water through a nearby tap for several minutes. This flushes air, loose carbon fines and any remaining cleaning solution from the housing. Carbon cartridges often produce grey or black water initially from harmless carbon dust, but this should clear after flushing.
Check the pressure at taps once the system is operating normally. If pressure remains poor after fitting a new cartridge, the issue may be elsewhere: a blocked pump strainer, restricted pipework, an undersized filter, a failing pressure controller or low water level in the tank can all affect performance.
Choose cartridges that suit your water system
There is no single cartridge that suits every property. A coarse sediment cartridge may be appropriate as a first stage where tank water carries visible grit. A finer cartridge can improve clarity before UV treatment, but it will need closer monitoring. For drinking water applications, carbon filtration can improve taste and odour, although it does not replace appropriate disinfection where microbiological risk is a concern.
If your water system includes UV sterilisation, maintain the pre-filters on schedule. UV systems rely on clear water for effective treatment. A blocked or unsuitable sediment filter can reduce flow, while poor filtration can leave particles in the water that limit UV exposure.
Also consider your household demand. A small cartridge may be adequate for a caravan, tiny home or low-use cabin, while a family home, farm dwelling or commercial washdown system may need a larger housing and higher-flow cartridge. The best setup balances filtration quality, flow rate, service interval and available water pressure.
When to call for advice
Seek assistance if the filter housing is cracked, fittings are leaking, the cartridge keeps blocking quickly or the water has ongoing colour, odour or taste issues after servicing. These signs can indicate a wider issue with tank hygiene, roof catchment management, pump equipment or the filtration design.
North Coast Water Tanks can assist property owners with compatible filtration components, tank maintenance guidance and practical advice on systems suited to rainwater, household supply and rural applications. Reliable water starts with a clean catchment and tank, but regular filter servicing is what keeps the final line of defence doing its job.
Set a reminder when you change the cartridge, write the date on the housing if practical, and inspect the system after major rain events. That simple routine can prevent a small filter issue from becoming a frustrating loss of pressure or a larger water-quality concern.